
Kreisler Praeludium and Allegro: How to Practice the Hardest Passages
Kreisler’s Praeludium and Allegro is one of the most beloved works in the violin repertoire, filled with beautiful melodies, dramatic contrasts, and technical fireworks.
One of my students even won a competition performing this piece, earning the opportunity to play at Carnegie Hall!
In this lesson, we’re going to tackle some of its most challenging passages and discover how to simplify them through intelligent, focused practice.
Watch: Kreisler Praeludium and Allegro — Practice Tips for the Hardest Passages
Master Kreisler’s Praeludium and Allegro
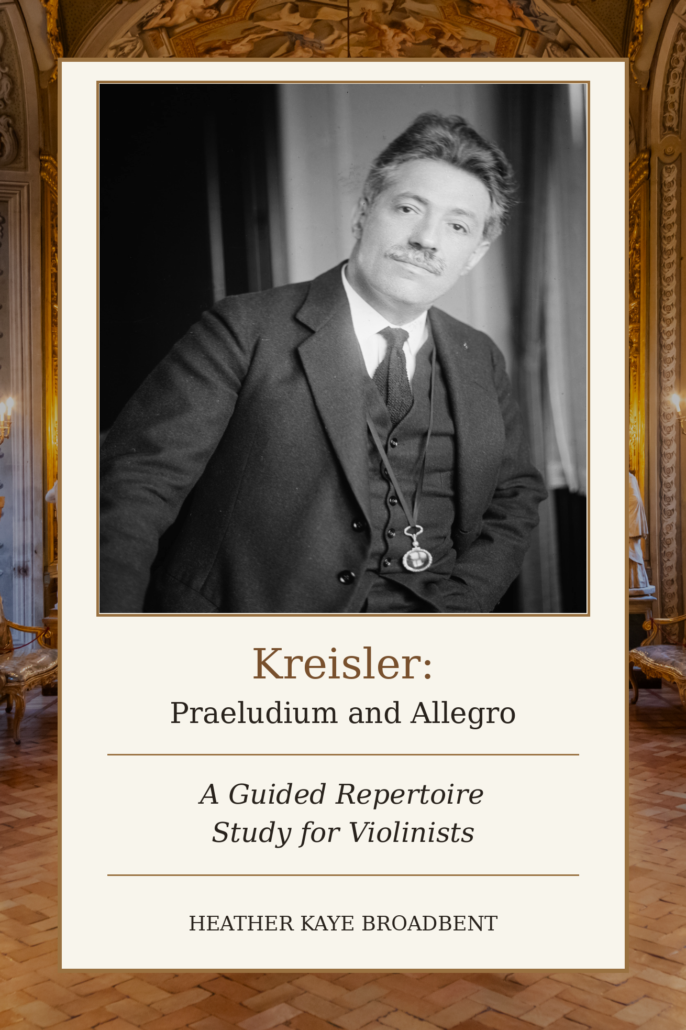
A few well-chosen exercises can transform a difficult passage. But mastering an entire work requires a systematic approach to technique, musical structure, and interpretation.
My complete Kreisler: Praeludium and Allegro — A Guided Repertoire Study takes you through the work section by section, addressing bow technique, double stops, shifting, articulation, and musical expression.
Rather than struggling through the piece, you’ll learn to approach it with clear technical priorities and greater musical confidence.
🎻 Explore the Complete Kreisler Study — $147
Self-paced study · One-time purchase · Return to the lessons as needed
Begin with E Minor Scales
Praeludium and Allegro is in E minor, which shares its one-sharp key signature with G major.
Before practicing the piece, warm up with two- and three-octave E minor scales, including patterns that travel across the instrument.
This will help establish your intonation and prepare your left hand for the technical challenges ahead.
Page 3: Simplifying the Rapid Sixteenth Notes
One of the most difficult sections begins on the fourth line of page three and continues through the following lines.
The continuous sixteenth notes can feel overwhelming, but there’s a surprisingly simple way to organize them.
Practice the Left Hand as Double Stops
Temporarily eliminate the repeated open E string and practice the remaining notes as double stops.
For example, you’ll encounter combinations such as G–B, D–B, C–A, and B–G.
This allows you to establish reliable finger relationships rather than thinking of every note independently. Pay particular attention to the difficult exchange involving A, F-sharp, C, and A.
The goal is to prepare the left hand so the bow can move freely and articulate the passage clearly.
Isolate the Bowing
Practice open strings only.
The pattern is simply one note on the A string followed by two notes on the E string. Each return to the A string alternates bow direction.
Once both hands are comfortable independently, bring them together slowly.
Page 3: Mastering the Triple Stops
Near the bottom of page three, you’ll encounter another technical challenge: triple stops.
These chords should speak across all three strings together rather than being deliberately rolled from one string to the next.
Begin by practicing the bow movement on open strings. Once you can produce a clear, unified attack, introduce the left-hand notes.
Page 2: Bringing Out the Inner Notes
The passage beginning on line five of page two presents a particularly interesting bowing challenge.
One of the most common mistakes I hear is insufficient articulation on the up-bows. Important notes on the lower strings disappear, and the passage loses its clarity.
Practice the bowing separately, paying special attention to the last sixteenth note of one group and the first of the next.
Develop responsive finger motion in the bow hand so the lower strings speak clearly. Then practice the left-hand double stops slowly, checking your intonation before combining the hands.
Right Hand Practice: Understanding the Bow Pattern
Once the left hand feels secure, the next step is working on the bow arm.
A good way to begin is by practicing the bow pattern on open strings. This helps clarify the rhythm and the string crossings without worrying about the left hand.
The rhythm consists of sixteenth notes followed by an eighth note, and rhythmic accuracy is essential.
Practicing with hooked bows, or what I call “sticky bows,” can help define each string crossing clearly.
Focus on:
• Relaxed elbow motion
• Straight bowing
• Clean string crossings
• Even tone across the strings
Practicing in front of a mirror or recording yourself on video can be very helpful for checking that the bow is traveling straight.
Study Violin with Personal Guidance
If something in your violin playing still isn’t working the way you’d like, individualized guidance can often reveal the missing piece.
In private online lessons we focus on the specific elements that shape beautiful violin playing — tone production, bow coordination, intonation, and thoughtful practice strategy.
Each lesson is tailored to your playing so that the next steps in your development become clear and achievable.
For violinists seeking deeper progress and consistent guidance, lesson packages offer the most effective and economical way to study.
Heather Kaye Broadbent is a concert violinist and founder of the Broadbent School of Violin Artistry, where she helps violinists develop beautiful tone, refined technique, and deeper musical understanding through guided study, online courses, and private instruction.

I’d Love to Hear From You
Have you studied this piece or worked through similar technical challenges?
Feel free to share your experience or questions below.


Leave a Reply
Want to join the discussion?Feel free to contribute!